
How to Attach a Camera Strap with Split Rings

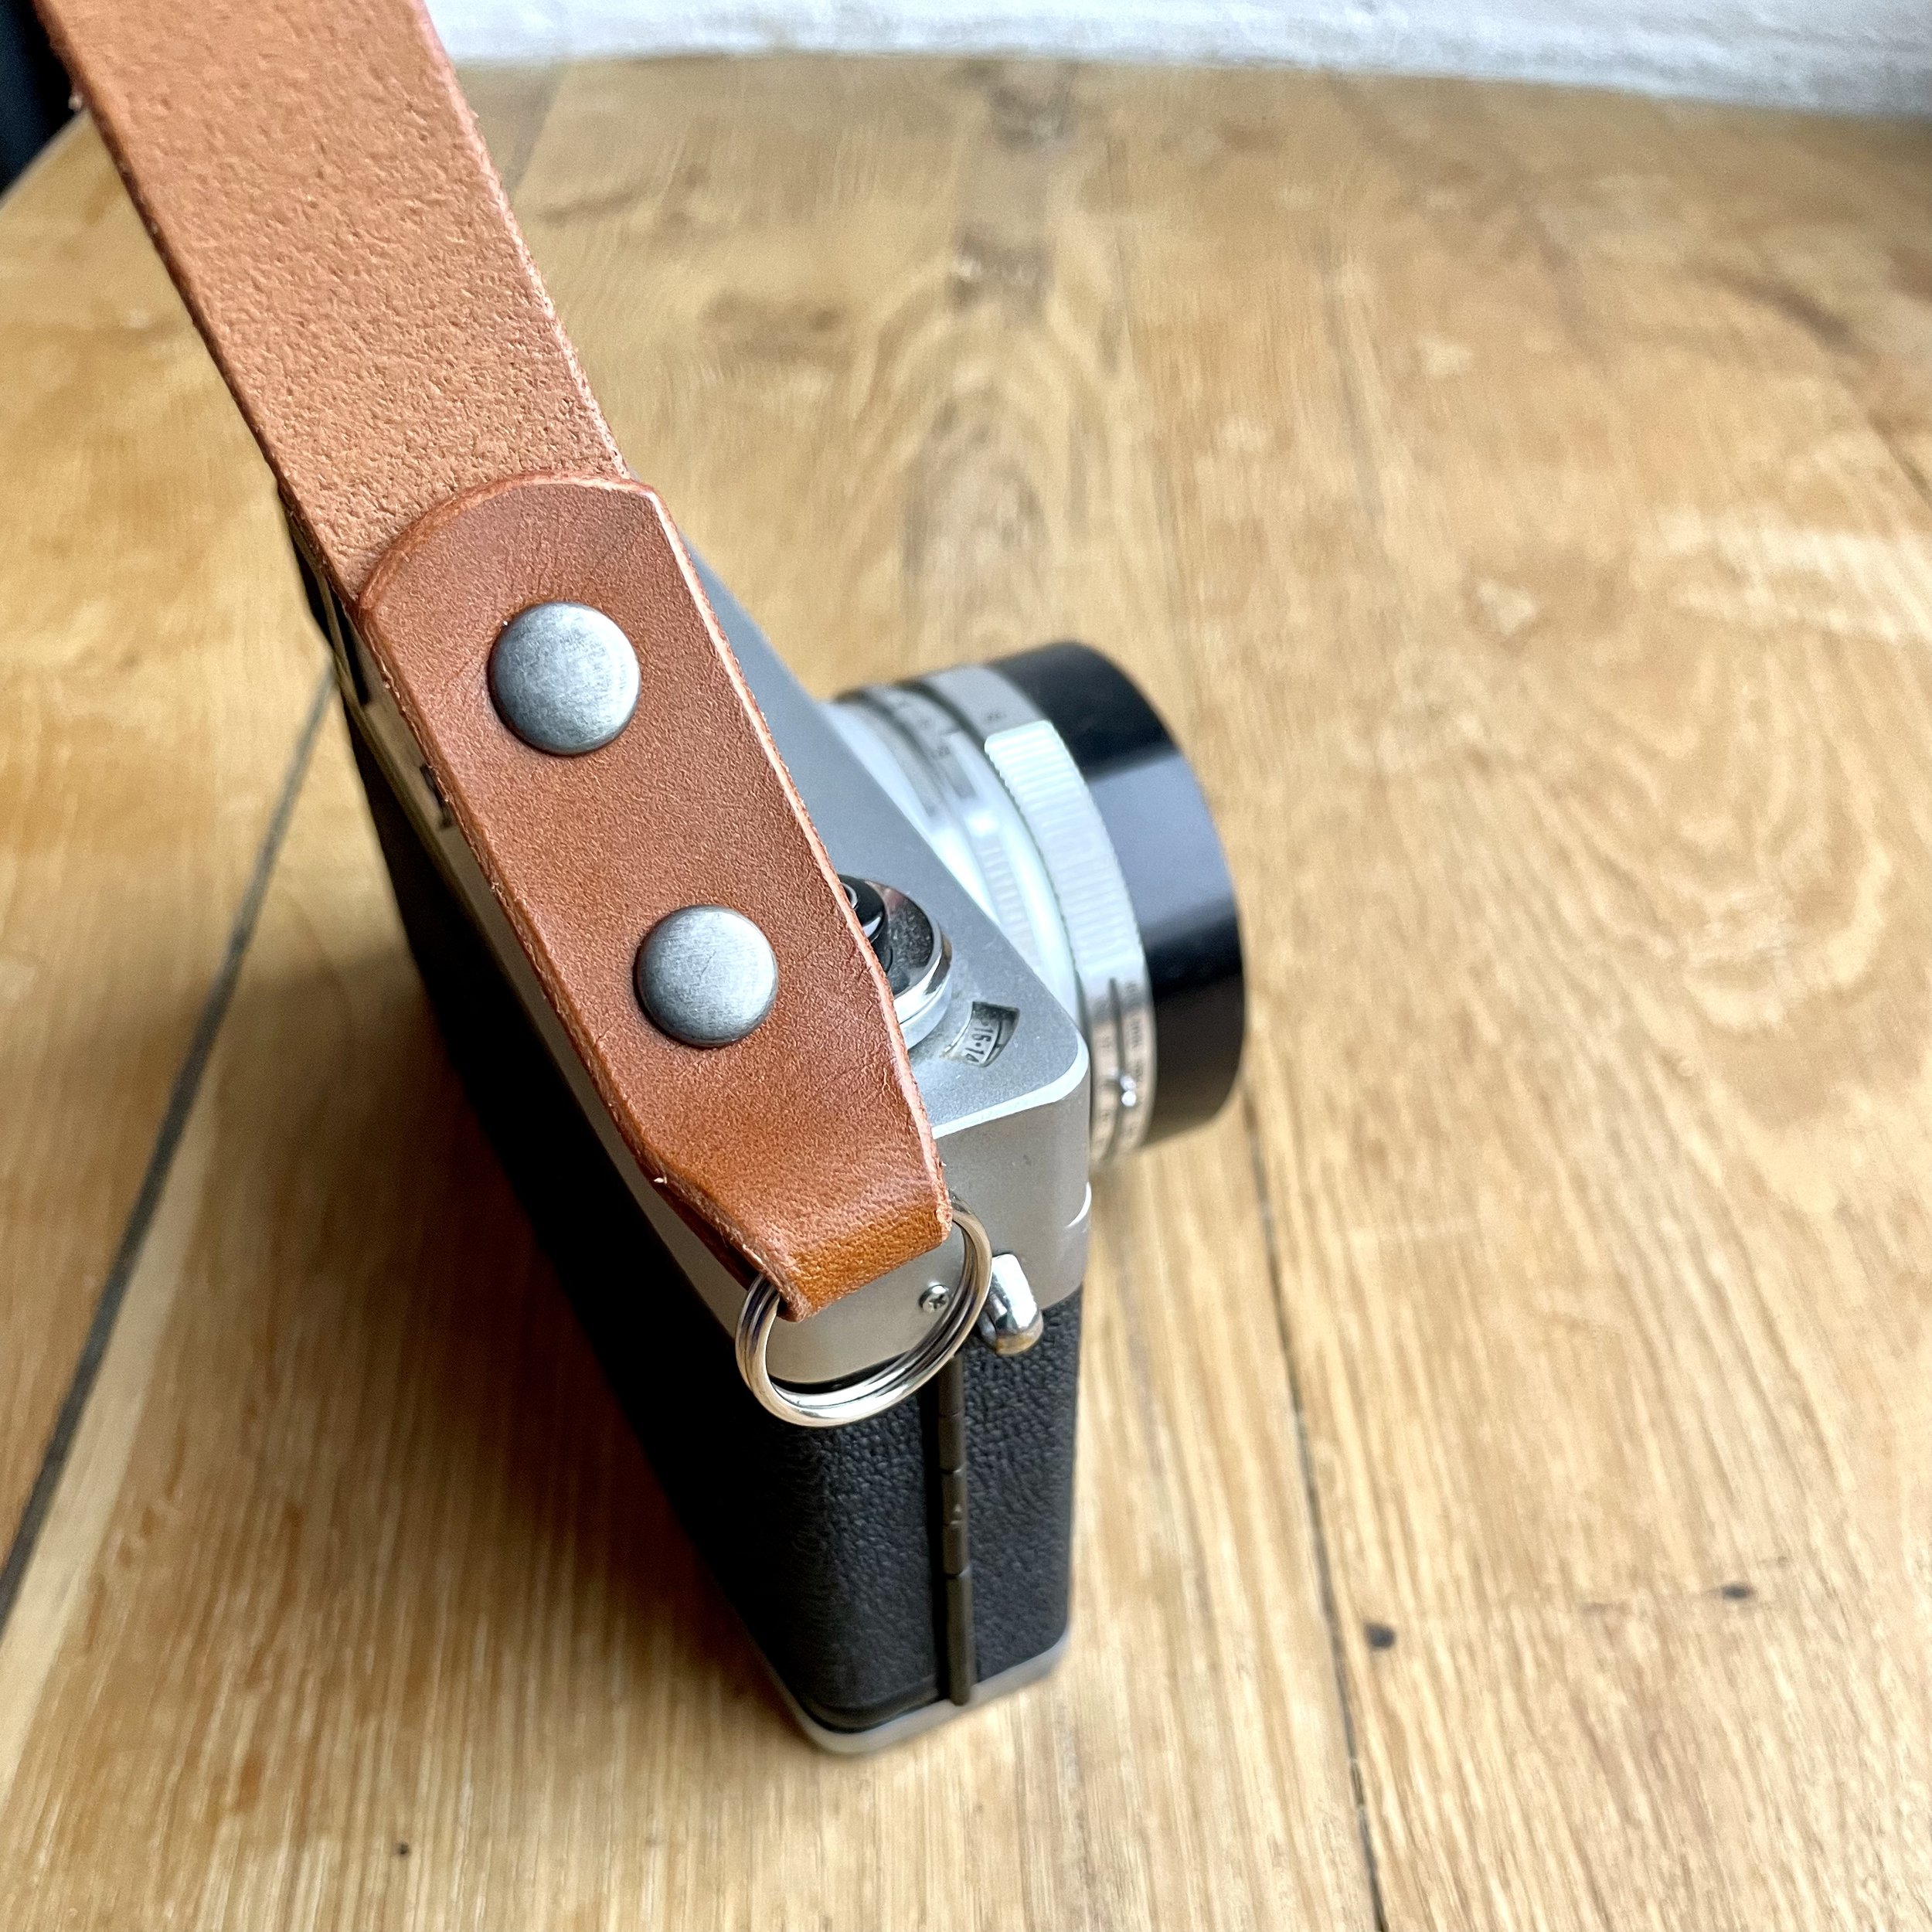
Vintage Canon with split ring camera strap
Attaching a camera strap with split rings is a simple and quick process. Follow these steps for a secure and comfortable fit.
Step 1: Locate the Attachment Points
Find the small metal lugs (eyelets) on each side of your camera. These are the points where the split rings will attach.

Lug mounts on Canonet QL 25
Step 2: Position Your Strap
Check for Twists: Before attaching, ensure your camera strap is the right way around and not twisted.
For Adjustable Straps: If your strap is adjustable and you plan to wear it sling-style, position the adjustable mechanism so it’s on the front of your body for easy access. Hold your camera up to the side of your body you prefer and decide which lug will receive each split ring.

The correct way round
The wrong way round
Step 3: Open the Split Ring
Use your thumbnail (or a small flat tool) to pry open a small gap in the metal split ring. Be careful not to bend or damage the ring by opening it too far.

Using a thumbnail to open the split ring
Step 4: Attach the Split Ring to the Camera
Thread the open split ring through the camera’s lug, turning the ring until it slides fully through and locks in place.

Sliding on the split ring

Sliding on the split ring
Step 5: Repeat for the Other Side
Repeat the process for the other split ring, attaching the second one to the other side of your camera. Remember to check for twists!
Now your camera strap is securely attached using split rings, ready for use.
Top Tip:
If you ever need to remove the strap, always take the split ring off the camera, not the strap. Pulling the leather strap through the split ring can damage the leather, so be sure to remove the ring from the camera instead.